Wednesday, 17 February 2016

Tutorial: Marble Mugs

Hello everyone, and welcome to all our new members who joined at Serendipity 2! 

Hopefully you all enjoyed making marble mugs at yesterday's workshop, but if you couldn't make it down I've put together a tutorial so you can try on your own at home. 

Materials

-Plain mug (ideally white but any colour would work) 
-Nail varnish (1-4 colours depending on how colourful you'd like your mug to be!)
-Nail varnish remover
-Mixing bowl filled with water deep enough to sink your mug into

Instructions

1. In a circular/spiralling motion, pour a small amount of nail varnish into the water - repeat with other colours if using more than one. 

2. Wait a few seconds for the varnish to disperse in the water. 

3. Dip your mug into the water and swirl it round to collect as much nail varnish as possible. You could push the mug in bottom down, or put it in sideways - the decision is yours! 

4. Rest upside down on a piece of kitchen roll and allow to dry. 

5. Use nail varnish remover to clean the inside of your mug (and possibly your hands!) 

And...you're finished! Your very own marble mug. Just remember to wash them in cooler water (including before use to remove any nail varnish remover), and don't pop them in the microwave or dishwasher. 

Here are a few examples made at last night's session to help inspire you: 


Thank you for reading, and happy crafting! :) 

P.S. In next week's workshop we will be making bath bombs! It should be a fantastic session so do pop down to Academi at 7pm on Tuesday 23rd to give it a go! 

Thursday, 4 February 2016

Tutorial: Felt Bookmarks

Hello everyone!

If you attended the workshop on Tuesday you'll know we were making embroidered felt bookmarks! Felt is one of my favourite fabrics to craft with - it's lovely and soft and doesn't fray. 


If you missed out on the session but would like to make your own bookmark, here's a quick guide to sewing yourself one. 

1. Print off a heart shaped template (like the one below)


2. Cut out two heart shapes from felt - you could use two different colours if you're feeling adventurous! 

3. Embroider both heart shapes with any design you like. Embroidery thread is good for this (it consists of six strands - pull it apart so there are only two strands and thread these through the needle), but any ordinary thread would be fine

4. Sew the hearts together so the nice embroidered sides can be seen and the messier side hidden in the middle. Make sure you only sew in a V shape, leaving the top open to make room for your page

5. Finished - a new bookmark! 

If you are looking for some inspiration, here are a few examples from our session on Tuesday: 


Happy crafting! 

(P.S. We have moved to Academi! You'll now find our weekly workshops in the Cinema Room - feel free to contact us via the Facebook group if you are unsure where to go). 

Monday, 25 January 2016

Dressmaking Sessions!

Hello, everyone!

Rather belated, I know, but I hope you all had a wonderful Christmas and New Year, and that everyone's exams went ok!

I just thought I'd give you some information about our upcoming dressmaking workshops. Myself and our chairperson, Medi, will be running four sessions taking place every week on a Thursday, in which we will be sewing up the Sewaholic Renfrew top (pictured below).


The dates we've chosen are the 25/02, 03/03, 10/03 and 17/03. By the end, everyone should have a wearable, handmade top! The venue and time are still to be confirmed, but we are looking at somewhere near Academi at around 6/7pm. You will need to bring your own fabric and matching thread but the pattern will be provided - we are looking to organise a trip to the fabric shop Abakhan in the coming weeks so we can help you choose supplies. However, if this doesn't go ahead, I will link you to some good fabric websites so you can choose your own t-shirt fabric.

For anyone interested in signing up to the dressmaking sessions, which will be free of charge, just head over to our Facebook group to register your interest!

Thank you so much, and I look forward to seeing you there :)

Beth x

Sunday, 29 November 2015

Christmas Fair

December is nearly upon us, which means only one thing... time to get into the Christmas spirit!

Unlike the supermarkets, which appear to start getting excited for the holiday season somewhere around mid-October, I've never been able to get into the Christmas mood until I open the first door of my advent calendar. However, since there are only a couple of days to go until December, I'd like to share with you some information about Bangor's upcoming Christmas market! 

This year, the market will be held on Friday 4th December in PJ Hall, Main Arts, from 12:00-17:00. The Bangor Craft and Sewing Society will have a stall where you can come along to buy our handmade goods, including dreamcatchers, jam jar tea-lights and felt bookmarks!


Last year we managed to raise £129.50 to put towards funding future workshops and keep our society going, as well as £80 for the Red Cross. This year, we hope to do even better! 

As well as our society, there will be dozens of other stalls that you can look round, selling a huge variety of jewellery, cards, baked goods, plants, decorations and hot food, to name just a few, so please feel free to pop along, say hi and check out what's on offer! It's a great opportunity to get a few Christmas presents crossed off your 'To Buy' list, or to get yourself a little something. 

We hope to see you there :) 

Friday, 6 November 2015

Learning to Sew

Hey everyone!

For those of you who know me, most will also know that I sew most of my own clothes. When people first hear this, a lot of them sound really surprised, which I suppose in the modern world of consumerism and fast fashion is pretty understandable. However, I'm here to tell you that sewing your own clothes is not as difficult as many people seem to think it is. I'm a completely self taught sewist, inspired to get to grips with learning how to use a sewing machine after watching the first series of The Great British Sewing Bee in 2013. I've been sewing for nearly two years now, with handmade clothes taking up more than 50% of the garments I wear on a regular basis.


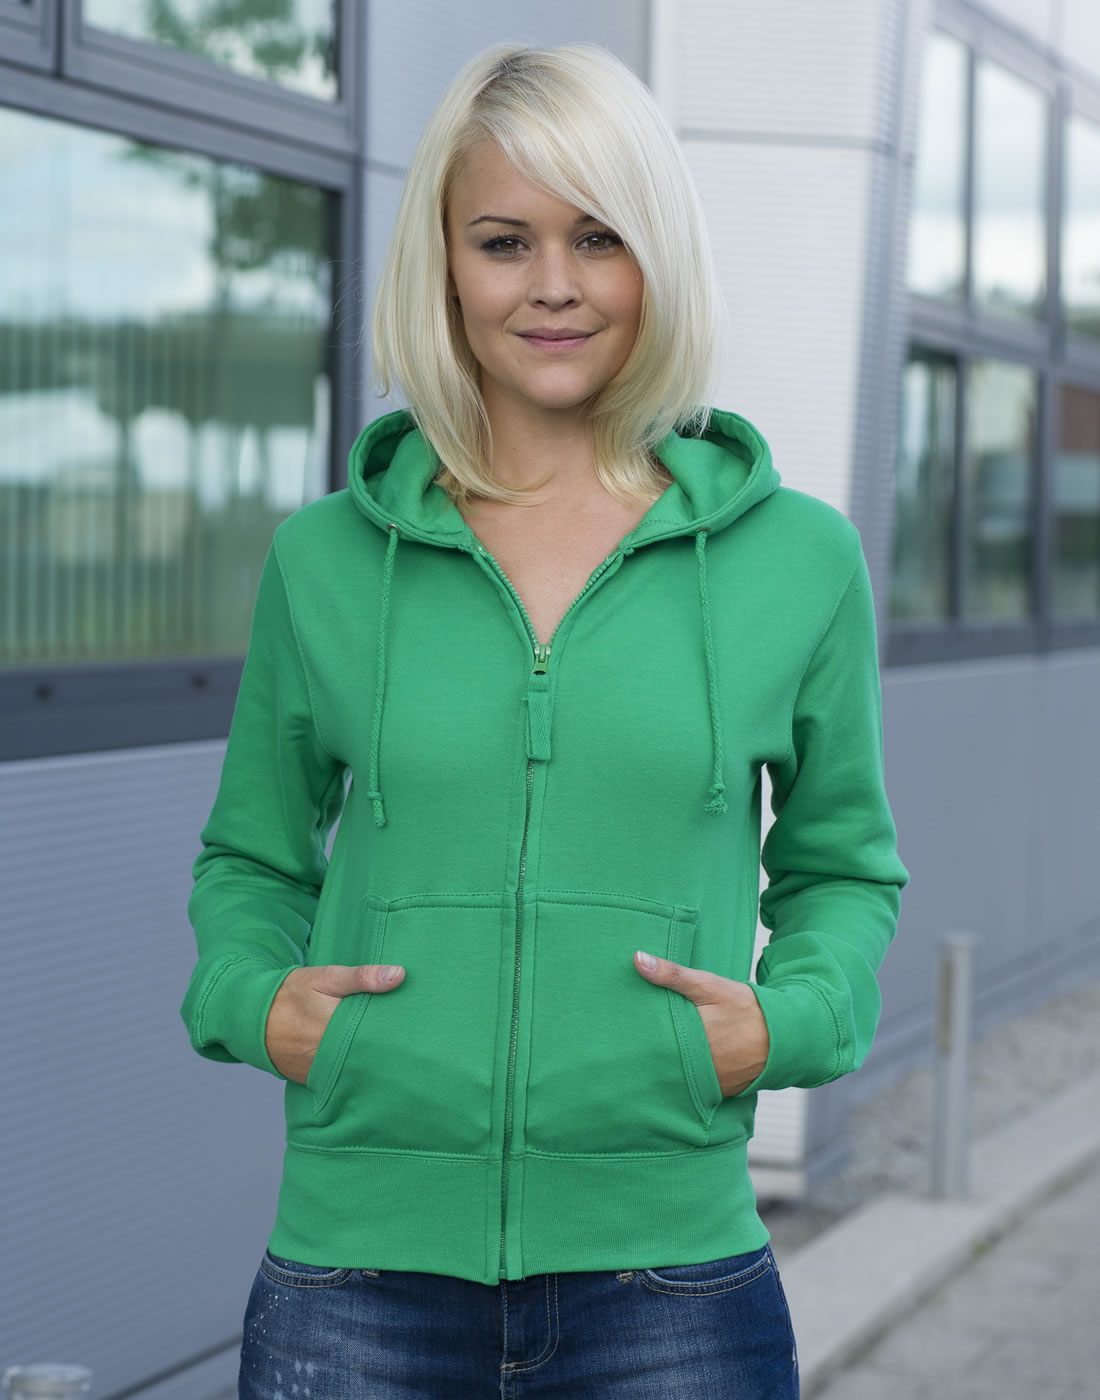
'Colette Astoria' Sweatshirt

When I started, I had no clue what I was doing. All I knew was that I wanted to take a sewing machine, some thread and some fabric, and bring them together into something totally unique and that I would love to wear. Of course, my first few attempts were completely awful and have been buried in the bottom of my wardrobe ever since, but don't let this dishearten you! Look on these projects as a learning curve; every mistake you make is helping you to get better.


'By Hand London Flora' Dress

I basically started out by reading my sewing machine's manual from cover to cover. Sit with the machine in front of you, so you can physically touch and get to know each part of the machine as the manual takes you through it. Then, I read a few of Tilly and the Buttons' 'Learning to Sew' posts, which you can find here. Bored of theory by then, I jumped into the practical. Cheap fabric (sourced from Abakhan), a pattern from the Great British Sewing Bee book, and I was away. I wore the finished dress once. It had messy insides, it was too big, the fabric was sort of ugly...but the point is, I'd done it - I'd sat down and made something to wear using my own two hands.


'Tilly and the Buttons Arielle' Skirt

From then on, everything became a lot easier. Once you've got through your first project, the excitement and joy every time you finish something else just acts as the momentum to keep going. And every time I finished a new project, it was a little better than the last. I wear very few of those early garments nowadays, though I took great pride in wearing them at the time, and being able to tell my friends that I'd made what I was wearing myself. You'll probably do a similar thing. Most of what we make in the early days of learning to sew ends up not being worn, but just remember that those projects were not a waste, for without them, you would have never learnt to sew at all.


'Lisette 1419' Dress

It took me about ten projects to reach a stage where I was totally happy with what I was creating. This may seem a lot, but remember I was only using cheap fabric and patterns from sewing books I'd bought, so the cost was relatively little. About four months in, I was creating garments that I still wear to this day, over a year and a half later. I wash my clothes on the delicate cycle of my washing machine, and I've never had a problem with the stitching coming undone. Have confidence in your own creations!


'New Look 6483' Top

Today, many sewing techniques are second nature to me, and I can put a dress together from start to finish in about six hours. I'm a relatively quick sewist though, so don't be put off if your projects take you a lot longer to complete than that - everyone works at different speeds. Of course, there's still so much more for me to learn, and things do still go wrong! My advice would be to always keep an un-picker close to hand. The beautiful thing about sewing is that if your stitches are in the wrong place, you can always undo them and try again. One mistake doesn't have to spoil your whole project!


'Sewaholic Cambie' Dress

You'll be pleasantly surprised at how quickly you can get the hang of using a sewing machine. Threading your machine may take you ten minutes as a beginner, but within a couple of projects you'll be down to less than a minute. That feeling of achievement is hard to beat! Same with sewing pattern instructions - you may have no clue what right sides together, facing, tuck, baste or gather mean now, but believe me, you'll be rattling off sewing terms within no time at all. It just takes practice.


'Sewaholic Renfrew' Dress

I hope this has given you the confidence to give sewing a try - if you're interested in giving it a go, you might be interested to know that me and Medi, our chairperson, are running a four week dressmaking course in Semester 2! These sessions will be totally separate from the Craft Society meetings, and will take place on Wednesday and Thursday nights (you only have to attend one a week - we just thought having a choice of days would make it easier for people to find time to come along). If this is something you'd be interested in, do let us know, and we'll give you more details closer to the time!

Thank you so much for reading,

Beth x

If anyone's interested, you can check out a list of all my completed sewing projects here, and my own sewing blog can be found here.

Saturday, 31 October 2015

Happy Halloween!

Did you come to our Halloween workshop this week? Our Fundraising Executive Emma Newman helped everyone to make wizard wands! They're easy to make yourself with a wooden chopstick or bamboo cane, glue gun or PVA glue, some brown paint and a few beads! 

All you need to do is create a 'handle' on your wand by making a spiral of glue from the bottom of your chopstick/cane to about a quarter of the way up. Add some beads, leave this to dry, then get painting! You can decorate it in any way you like - I think the brown wands with touches of gold paint look especially fabulous. 

Here are a few pictures to get you inspired: 


Thank you to everyone who came, we hope you had a good time! For those of you celebrating Halloween, have an awesome, spooky night :) 

Monday, 26 October 2015

Society Hoodies!

Hello everyone!

I'm so pleased to announce that this year's society hoodies are finally available for order - but not only can you order a hoodie, but also a sweatshirt or t-shirt if either take your fancy!

We're just getting an idea of numbers at the moment, so if you're interested hop on over to the Facebook group and comment on my post over there with which garments you'd be interested in. Approximate pricings are £20 for a hoodie, £14 for a sweatshirt and £10 for a t-shirt, but these will be confirmed within the next couple of weeks.

The size range for each garment is 8-16. If you need a bigger size, don't hesitate to get in contact (my email is hiu49c) and let me know, but there may be a small additional charge.

Everything will have the Craft and Sewing Society logo printed on the back in black and white, with the Bangor University logo embroidered onto the front left hand side.

Here are a few pictures of the products so you know what to expect...


If you click on each of the photo's descriptions it will take you to the webpage we are ordering them from, where you can get a better idea of which colours are available.

Everything should be ready to be officially ordered within the next couple of weeks, so if you are interested in ordering something, keep your eye out for a message from me containing all the information you need including which colours are available, which size to order and definite prices. Then you'll need to get back to me with your colour choice, size and payment within 1-2 weeks!

Thanks for bearing with me through the ordering process, I know it can be frustrating, but at least we'll all come out with lovely new society clothes at the end of it! (although part of me feels those hoodies should be self sewn... ;) )

Beth :)